Over the past few days, I started to update my website to be more IndieWeb-friendly. This post documents the steps I took to add IndieAuth authentication, microformats, and IndieWeb webring support to this ASP.NET Core MVC site.
Why IndieWeb?
Except for Instagram, I've pretty much discarded the rest of social media. My RSS reader has become my way of connecting and reading about what other people on the Internet are up to. The IndieWeb is a movement to take back ownership of your online identity and content. By using open standards like IndieAuth and microformats, you can make your site interoperable with other independent sites and tools, and even log in to other services using your own domain. That last part was new to me and really blew my mind.
Step 1: IndieAuth Setup
I wanted to use IndieAuth for personal authentication since it's really easy to set up and ready to go right out of the box. IndieAuth lets you log in to your own site using your domain as your identity. It's hooked up into another auth provider in order to make it work. I chose the simplest route: using indieauth.com as my provider with Github as the backing.
1.1. Add a rel="me" Link
I added a rel="me" link to my GitHub profile in my site's <head>:
<link rel="me" href="https://github.com/clintmcmahon" />
1.2. Verify with IndieAuth.com
I went to indieauth.com, entered my domain, and followed the prompts to verify ownership using my GitHub account.
Step 2: IndieAuth Integration in ASP.NET Core
I created a MVC AuthController with endpoints for login, callback, and logout. The login endpoint redirects to indieauth.com, the callback handles the token exchange, and the session is managed using ASP.NET Core's built-in session middleware. There's nothing that you can do right now on this website as a logged in user, but at some point I might like to add a new admin section where I can write blog posts. Right now I write blog posts as markdown files and then upload them to the server.
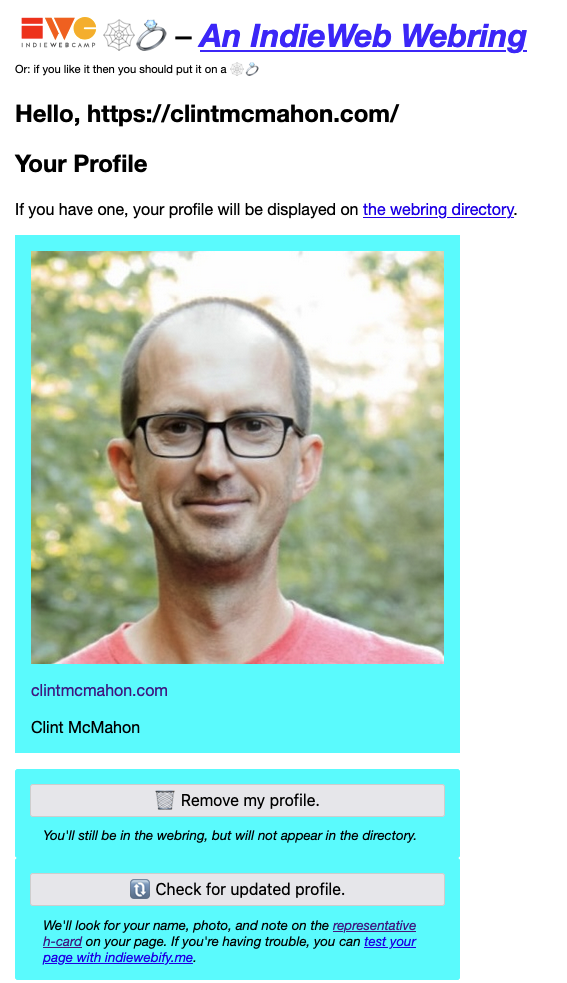
Step 3: IndieWeb Webring
To join the IndieWeb Webring, I added these links to my site's footer:
<a href="https://xn--sr8hvo.ws/previous">←</a>
An <a href="https://xn--sr8hvo.ws">IndieWeb Webring</a> 🕸💍
<a href="https://xn--sr8hvo.ws/next">→</a>
Step 4: Add a Representative h-card
Then I added the representative h-card is a microformats2 way to mark up your identity for IndieWeb tools. I added a hidden h-card to my layout:
<div class="h-card d-none">
  <a class="p-name u-url" rel="me" href="https://clintmcmahon.com/">Clint McMahon</a>
  <img class="u-photo" src="/images/me.jpg" alt="Clint McMahon" />
</div>
Which renders my sweet h-card like so:
Final Thoughts
With these changes, my site is now much more IndieWeb-friendly. I can log in with IndieAuth, my identity is discoverable via microformats, and I’m part of the IndieWeb Webring. If you want to make your own site IndieWeb-compatible, I hope this post helps you get started!