This post is the complete guide to making cold brew at home. I’ve fine-tuned my cold brew making style over the past few years and landed on a ratio of 6 ounces of coffee to 32 ounces of water. This makes enough concentrate that, once diluted, can give you about 64 ounces of ready-to-drink cold brew - depending on how strong you want it to be. I have another post about how to make cold brew at home, but this guide goes into more detail with the method I’ve found works best.
What you need
- A 32-64 ounce container for brewing (needs room for coffee grounds to expand)
- A second container to hold the filtered concentrate
- 6 ounces of freshly coarse ground coffee - the fresher the better
- A scale
- Flour sifter, strainer, or mesh filter
- Coffee filters
- Chemex or something similar to filter the coffee through
Step 1
I start with a 32ounce jar. A jug, pitcher, or whatever container you have will work just fine. Fill the container with 32 ounces of filtered water. You can short this by a couple ounces as needed because you'll need the extra room because the coffee grounds will take up space.

Step 2
Weigh 6 ounces of the freshest beans you have available. I like Irving Farm’s Cold Brew Blend but I’m using my local Minneapolis roaster Dogwood Coffee’s Rwanda in this tutorial. This Rwanda has brewed the best cold brew I've ever brewed in my life.

Step 3
Grind the beans on the coarsest setting available. On my Baratza Encore that setting is 40. When the beans are ground you should end up with grounds that look like coarse sea salt. The coarse grind prevents over-extraction and keeps your cold brew from getting bitter.
Step 4
Dump the grounds straight into the water + container and stir until the water and grounds are completely mixed together. Make sure all the grounds are saturated.
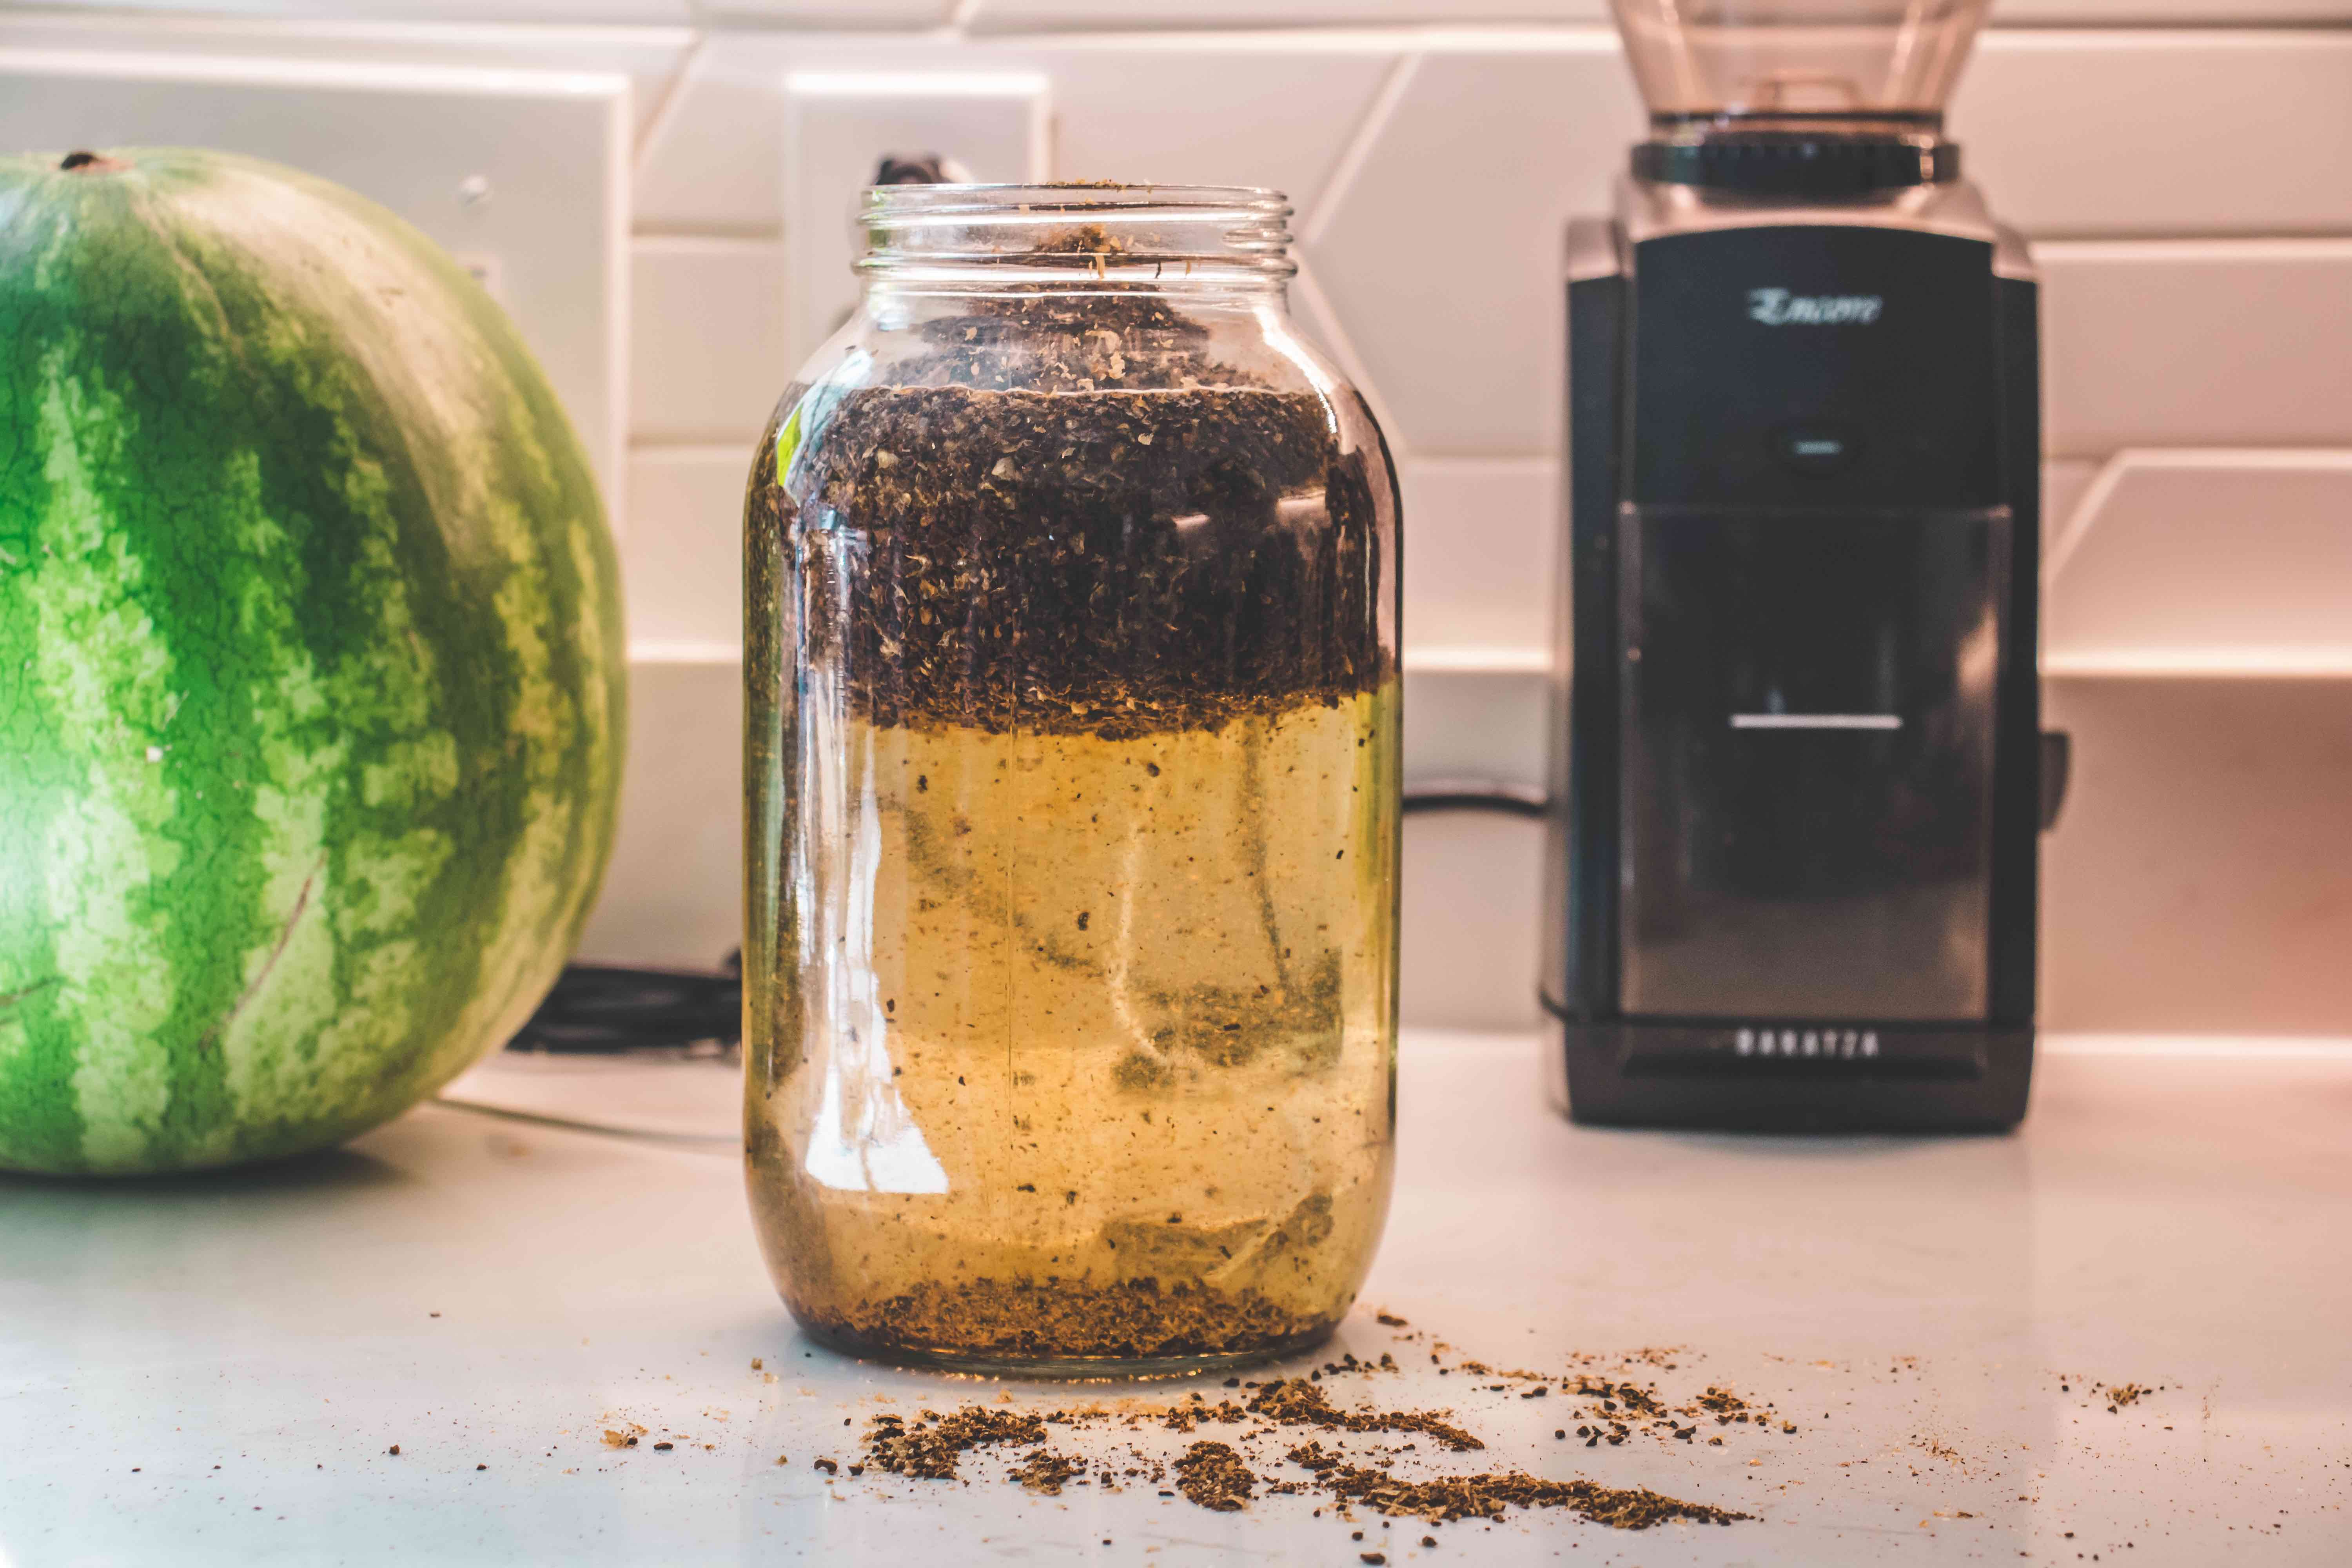
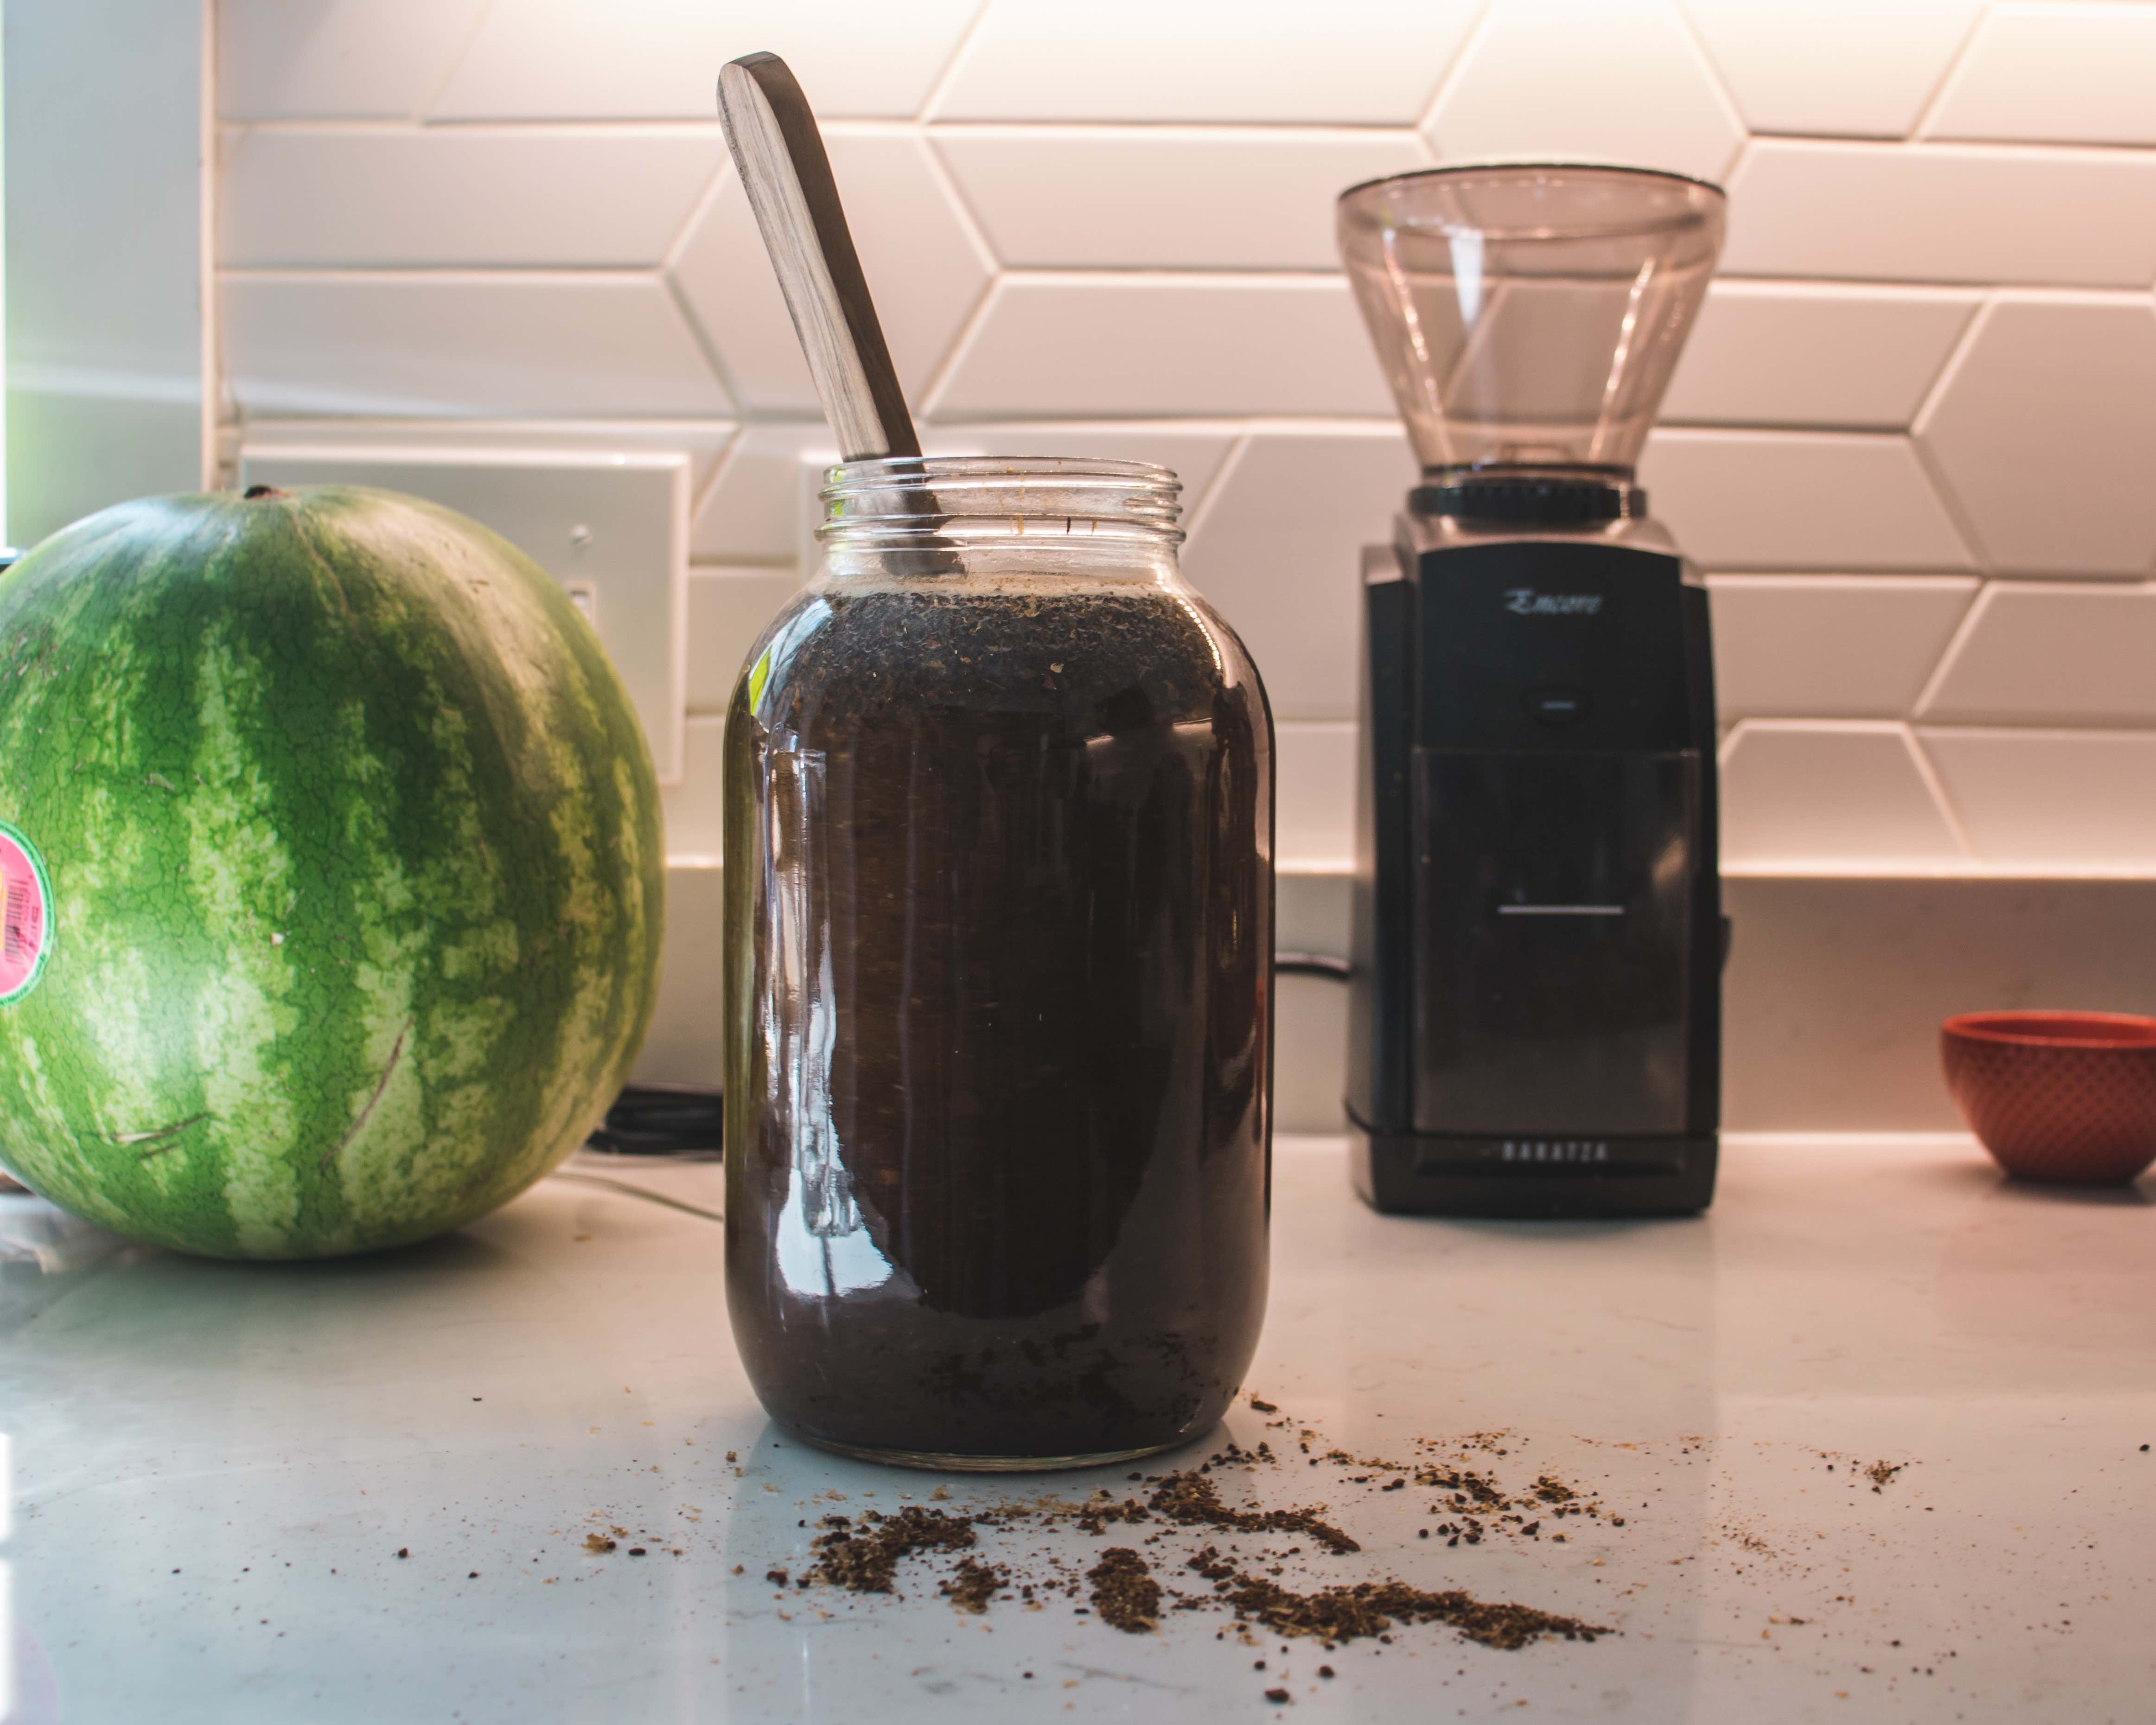
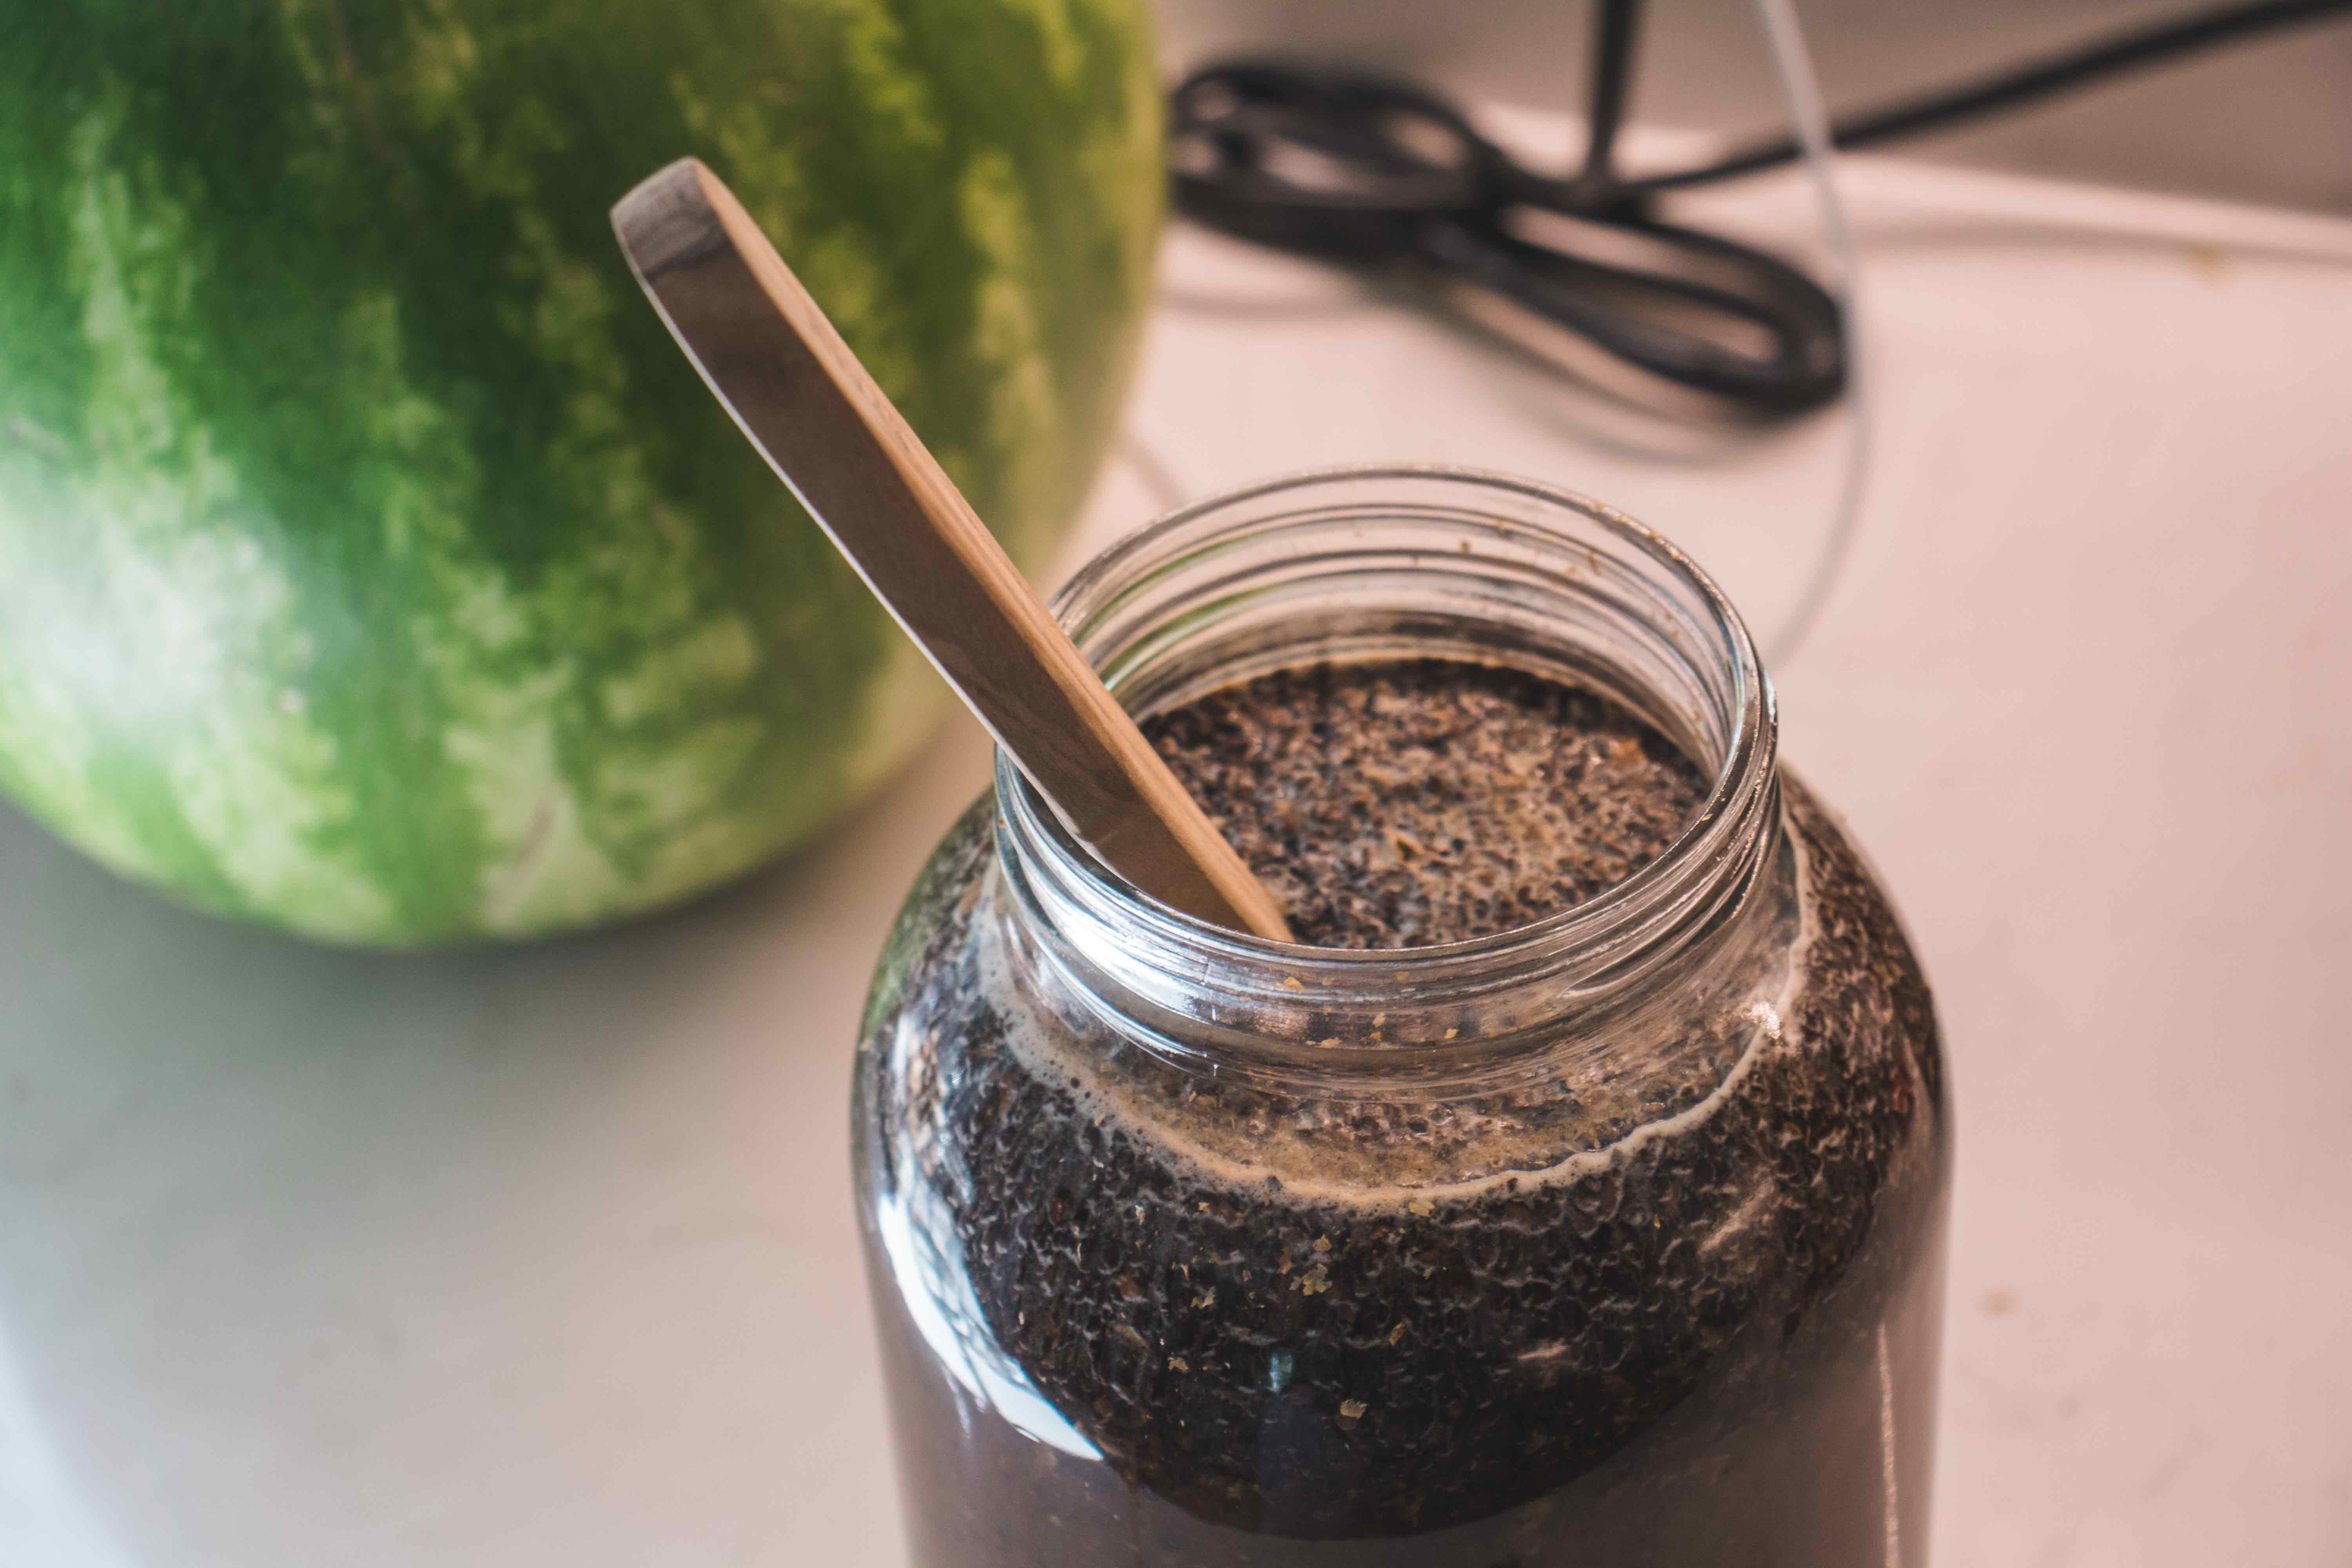
Step 5
Put a lid on the jar and let the coffee sit on the counter top at room temperature for 16-18 hours. Some folks will go longer but I find anything more makes the coffee taste like wood then you lose the notes of the coffee. People also put the coffee in the fridge, but this slows down the brew process. Add another 5-8 hours if you put it in the fridge. Once or twice during this time I will stir the grounds a little bit to move things around.
Step 6
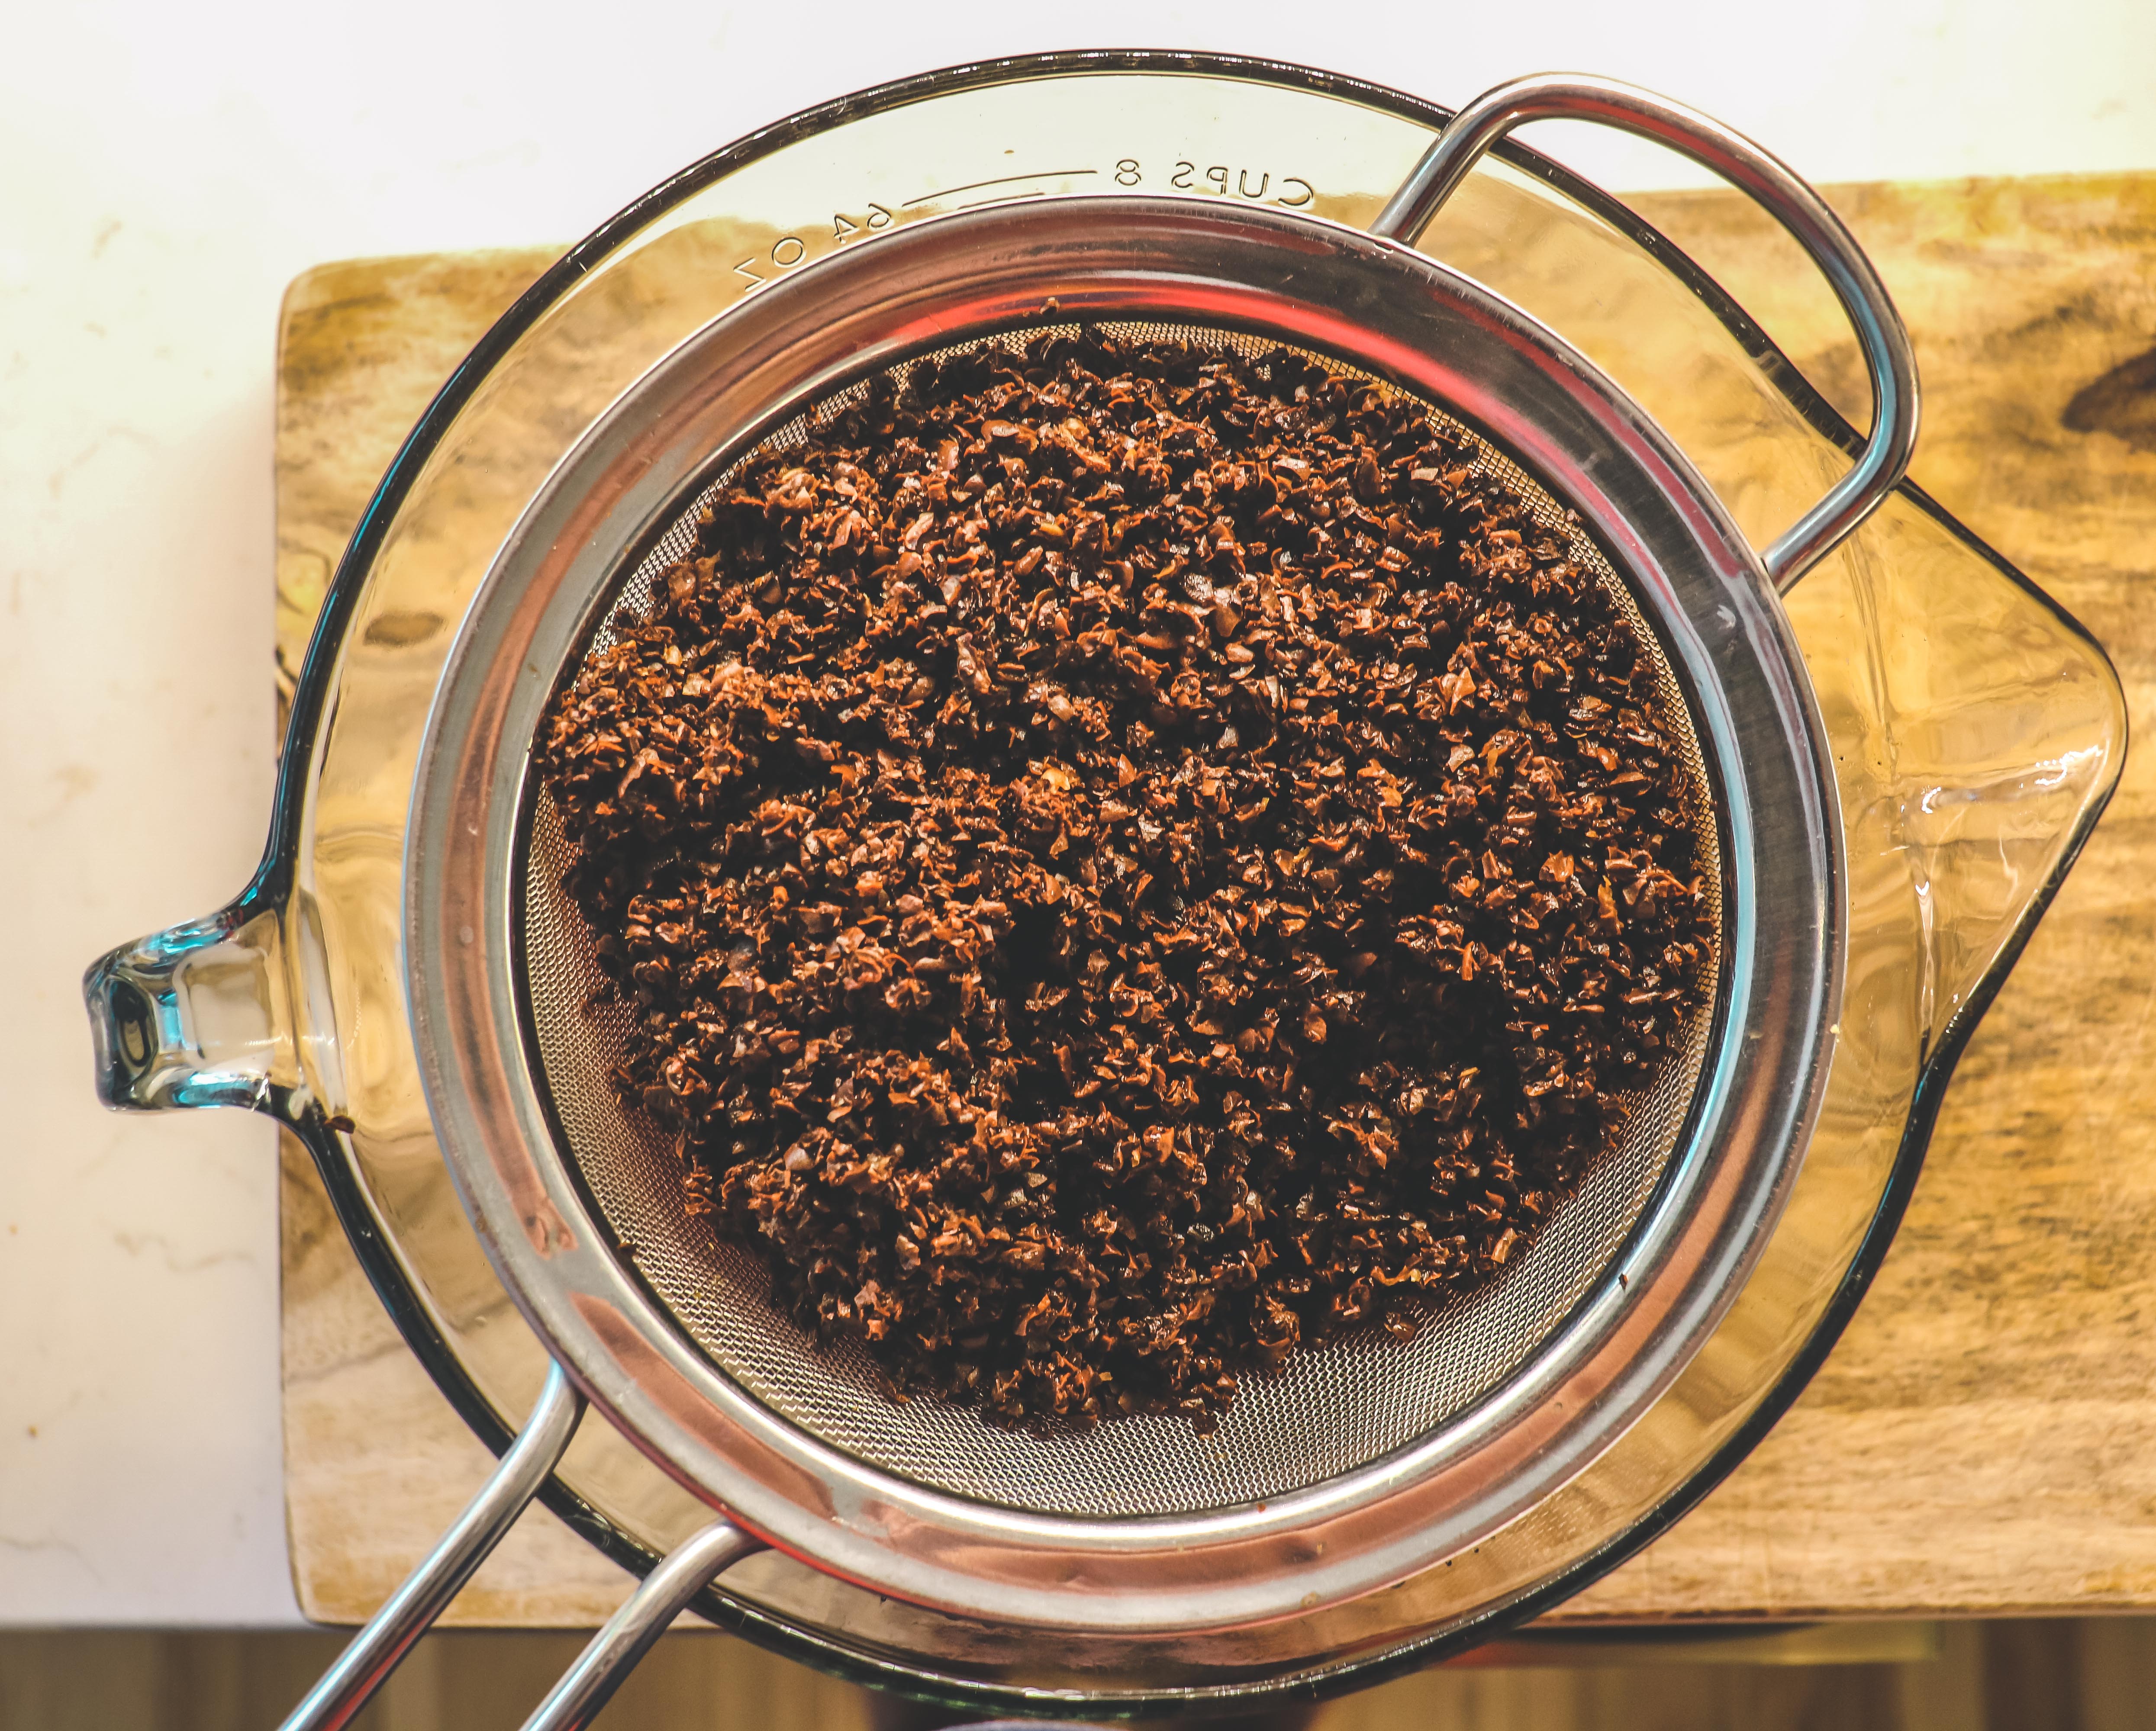
When the time is up then it’s time to filter the grounds from the water. Take a flour sifter or a strainer with small enough holes so that the coffee grounds can’t get through. Place the strainer over another container similar to the container holding your water + grounds. Then pour the coffee and water mixture through the strainer into the new container. This will leave all the coffee grounds in the strainer and your pure coffee concentrate will be in the other container. Let it sit for a few minutes to allow all the coffee to completely drain through the strainer.
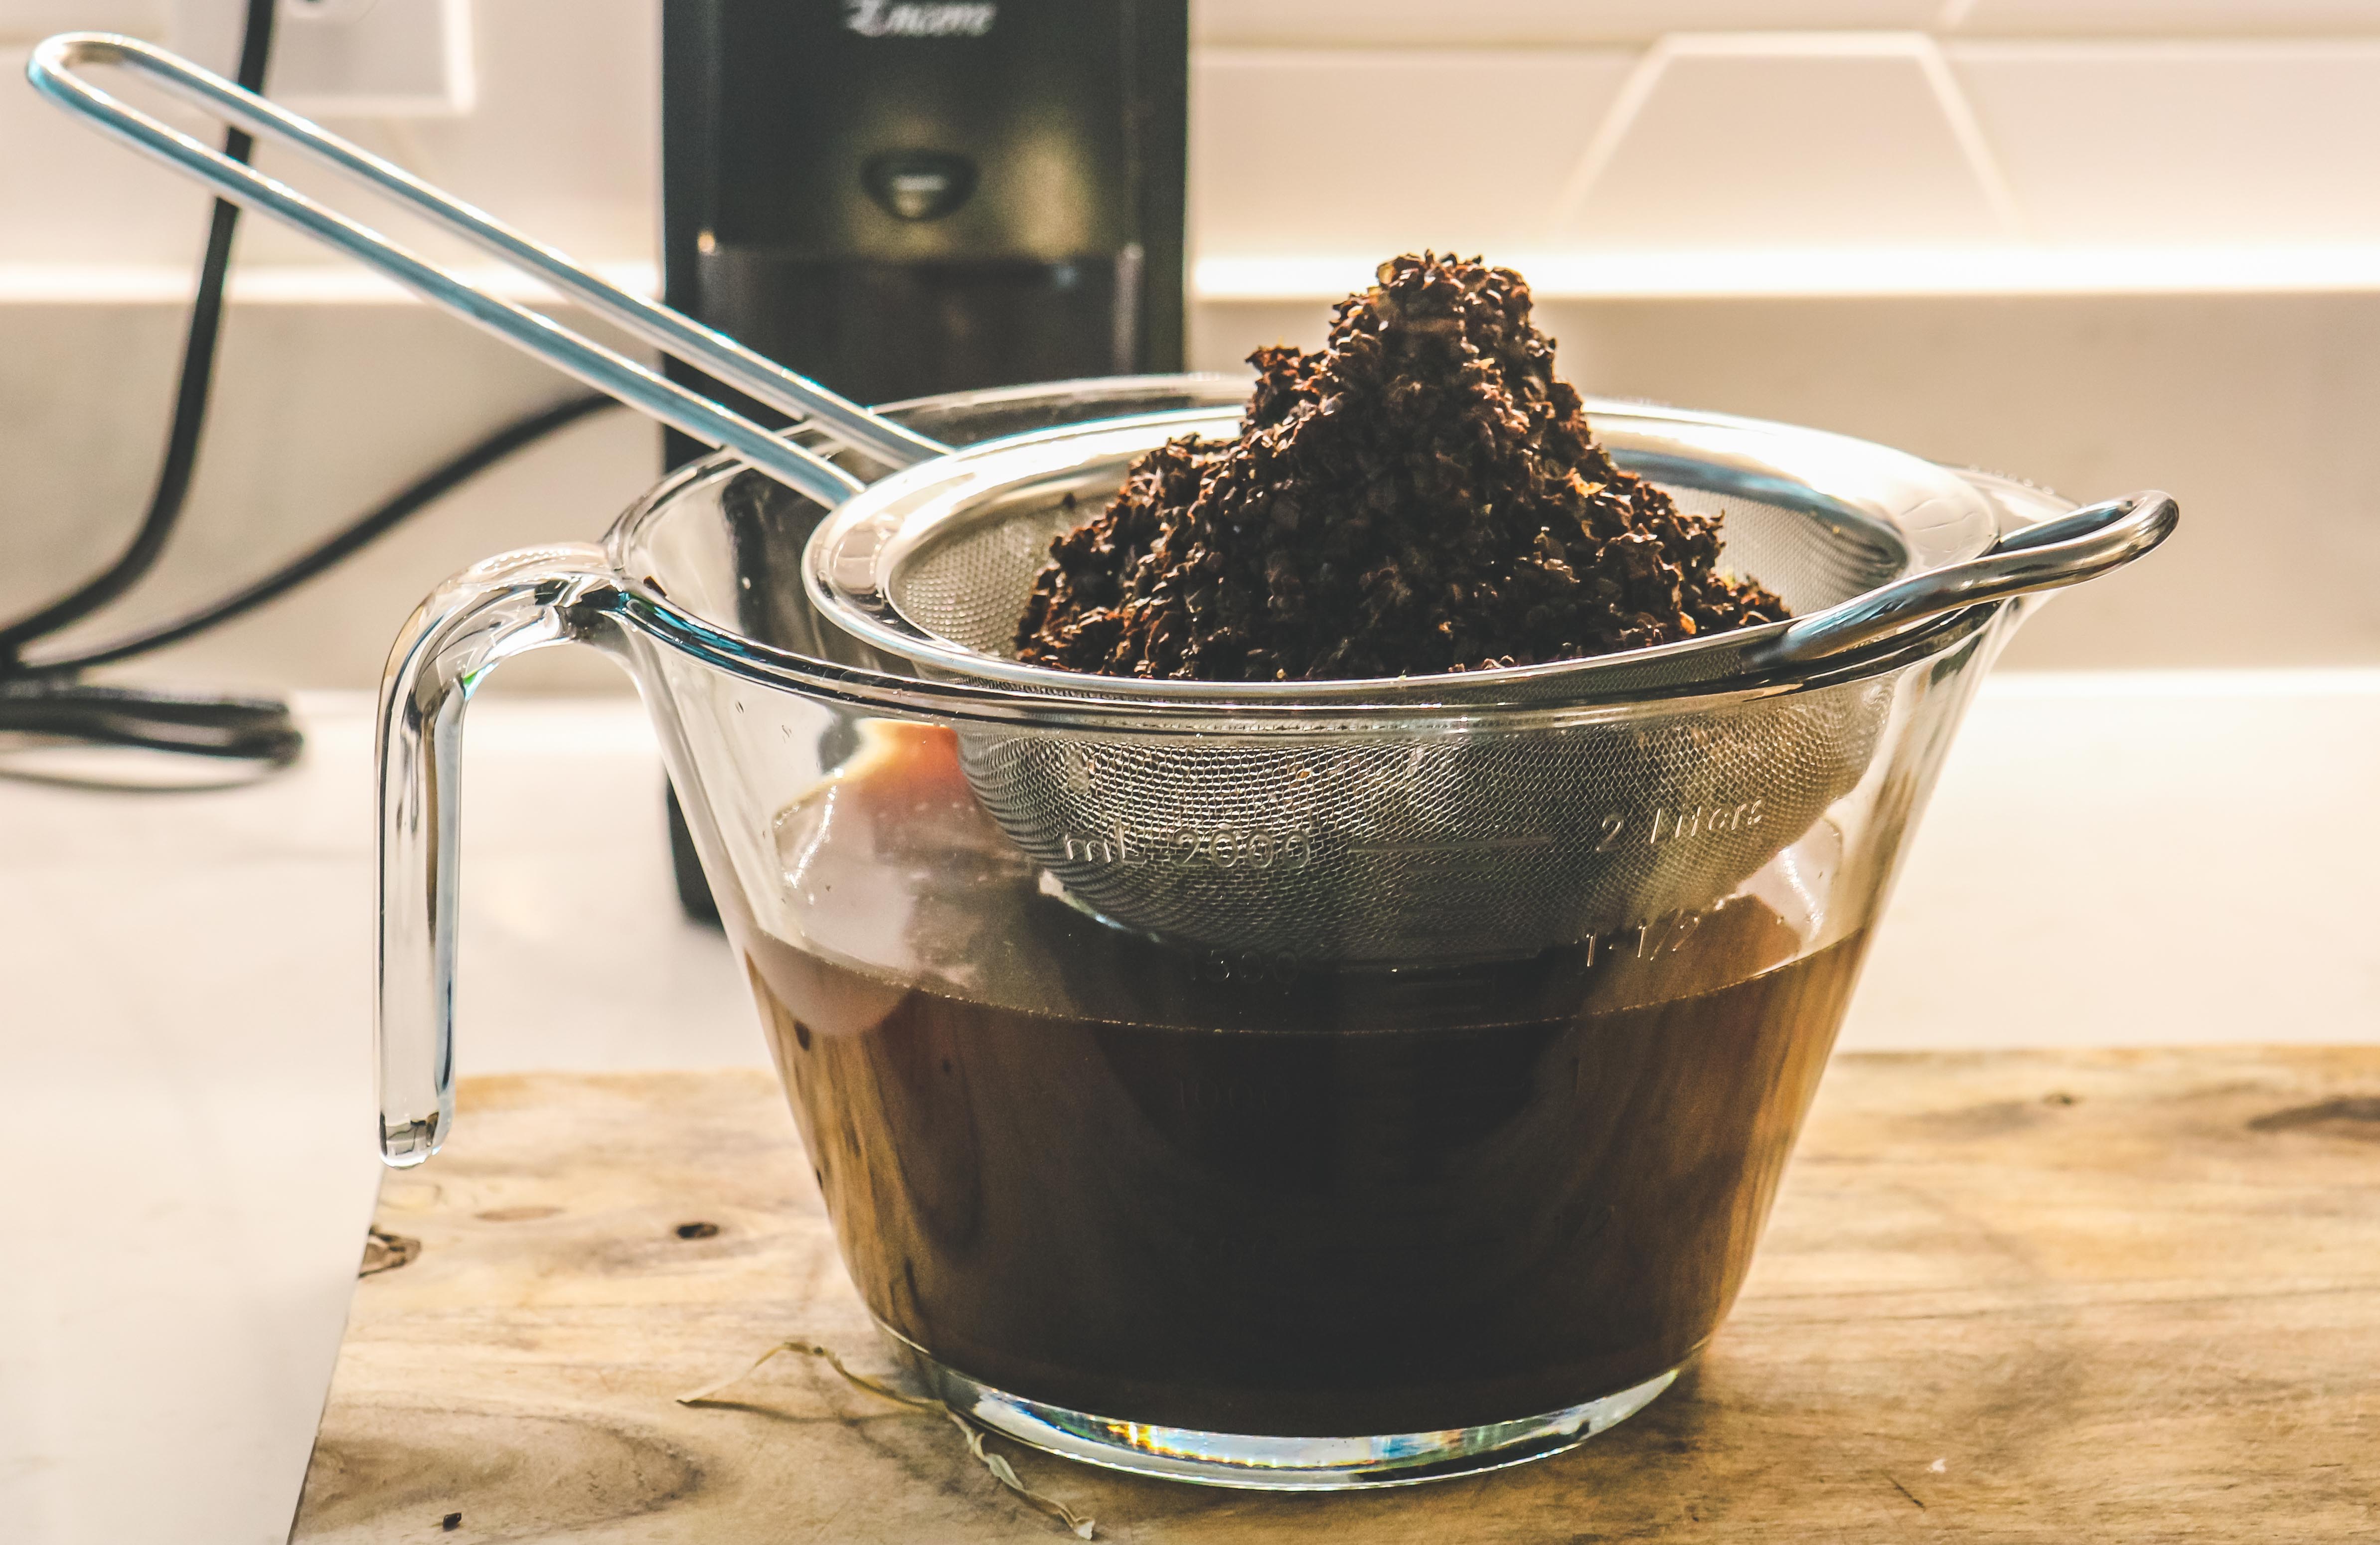
At this point the coffee is technically ready to drink, however it's gonna be pretty thick and strong. The next two steps are to filter the sludge from the coffee and add water to dilute the concentrate.
Step 7
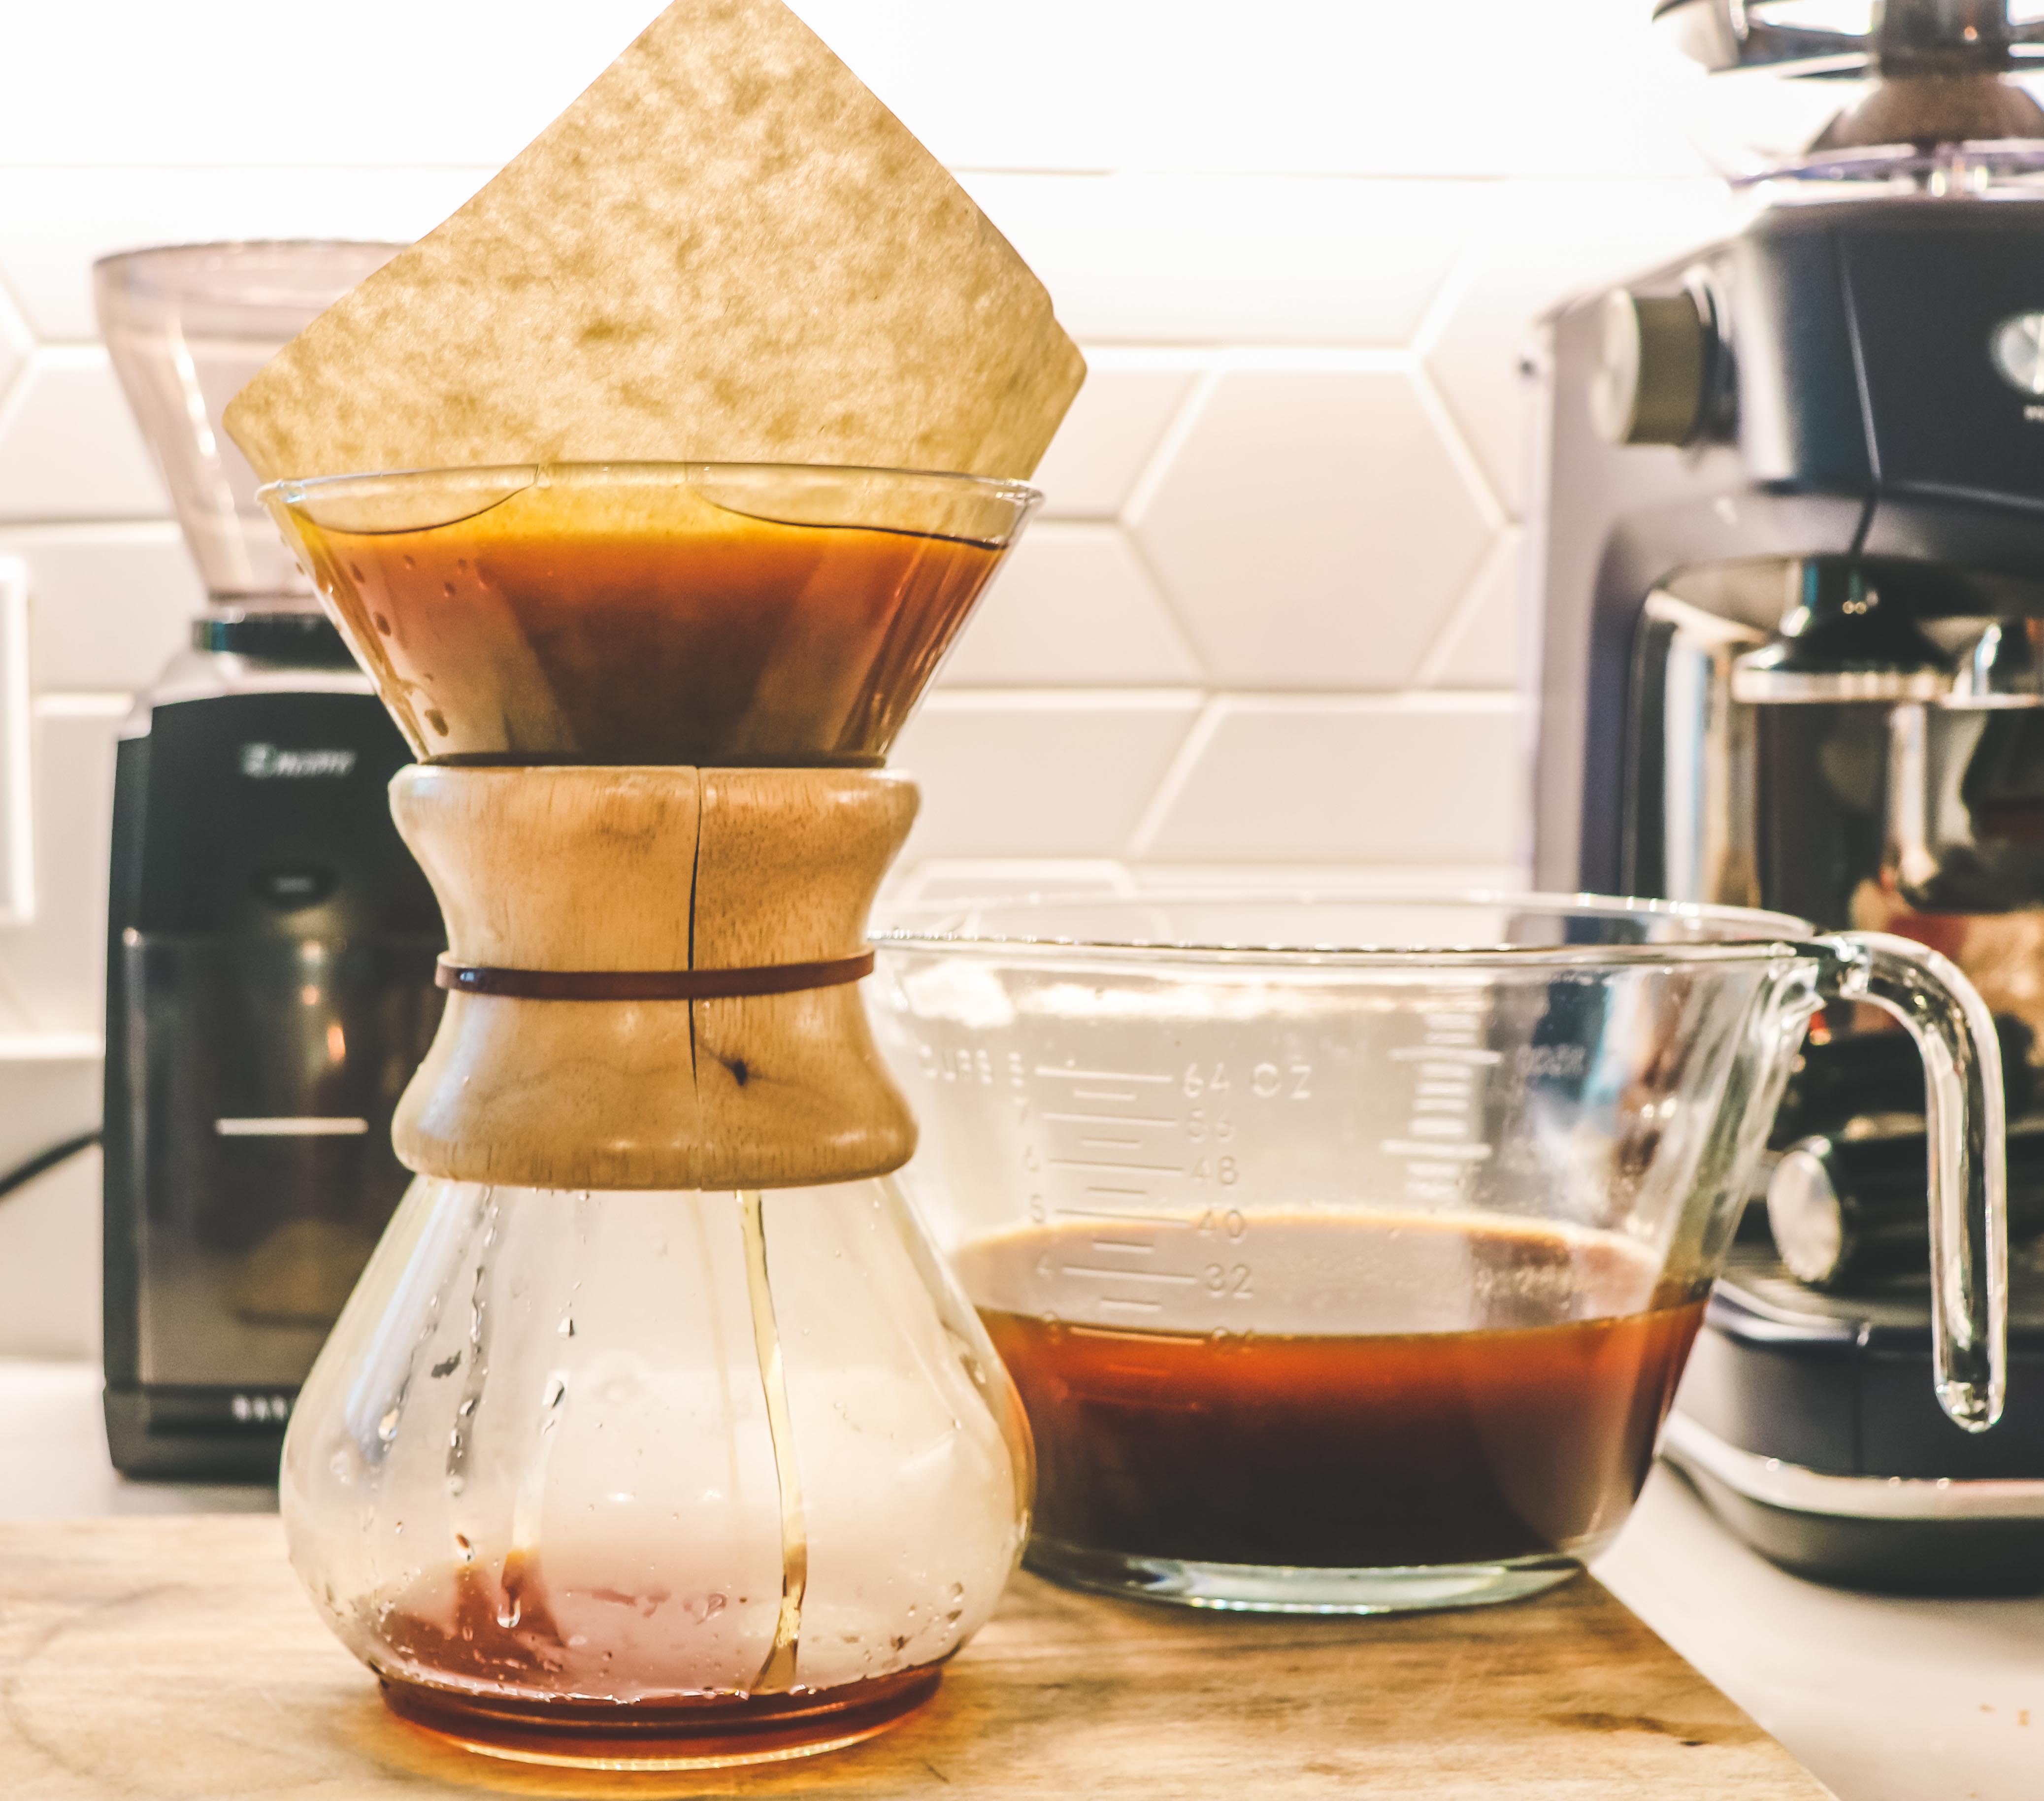
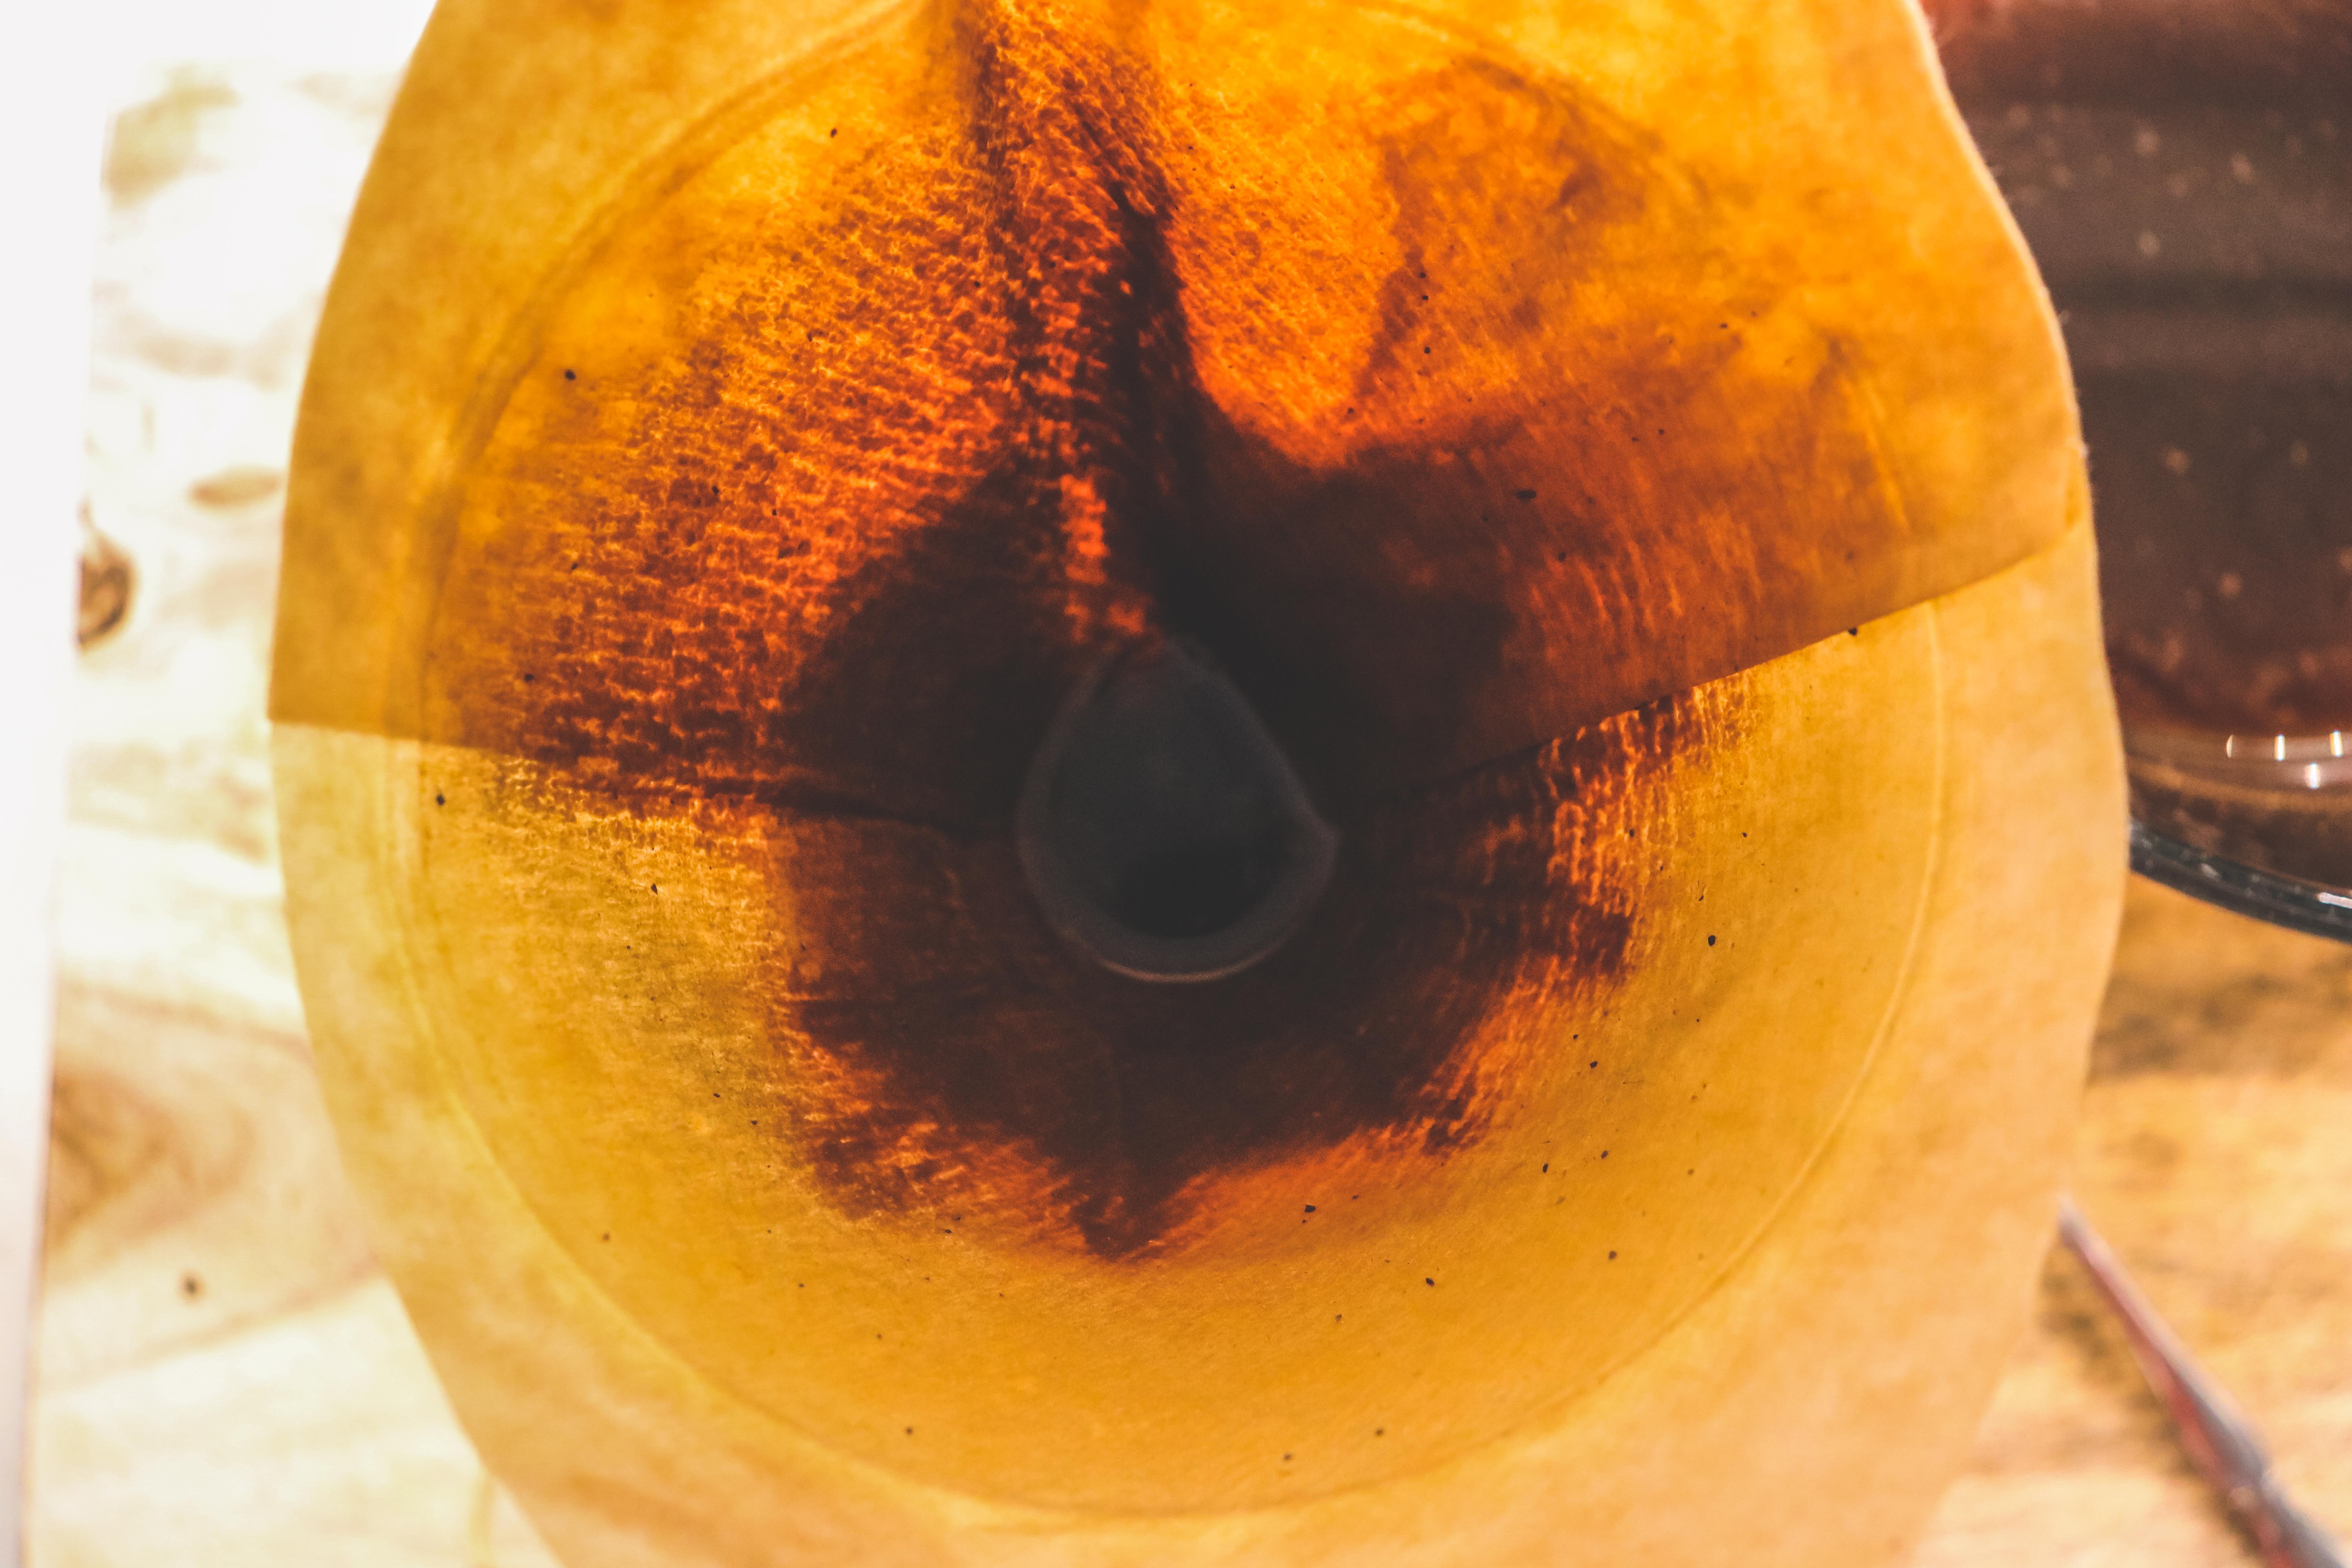
This step is to filter the coffee and remove any grit and sludge. You can use any kind of coffee filter for this step. I use a Chemex and a Chemex filter, but I’ve also used a regular Mr. Coffee style filter over a jar to do the same thing.
Add the filter to the Chemex like normal and pour the coffee through the Chemex filter until the all the coffee has been filtered. Use a spoon to scoop the sludge out of the bottom of the filter. Over time this is gonna get clogged and jam up.
Step 8
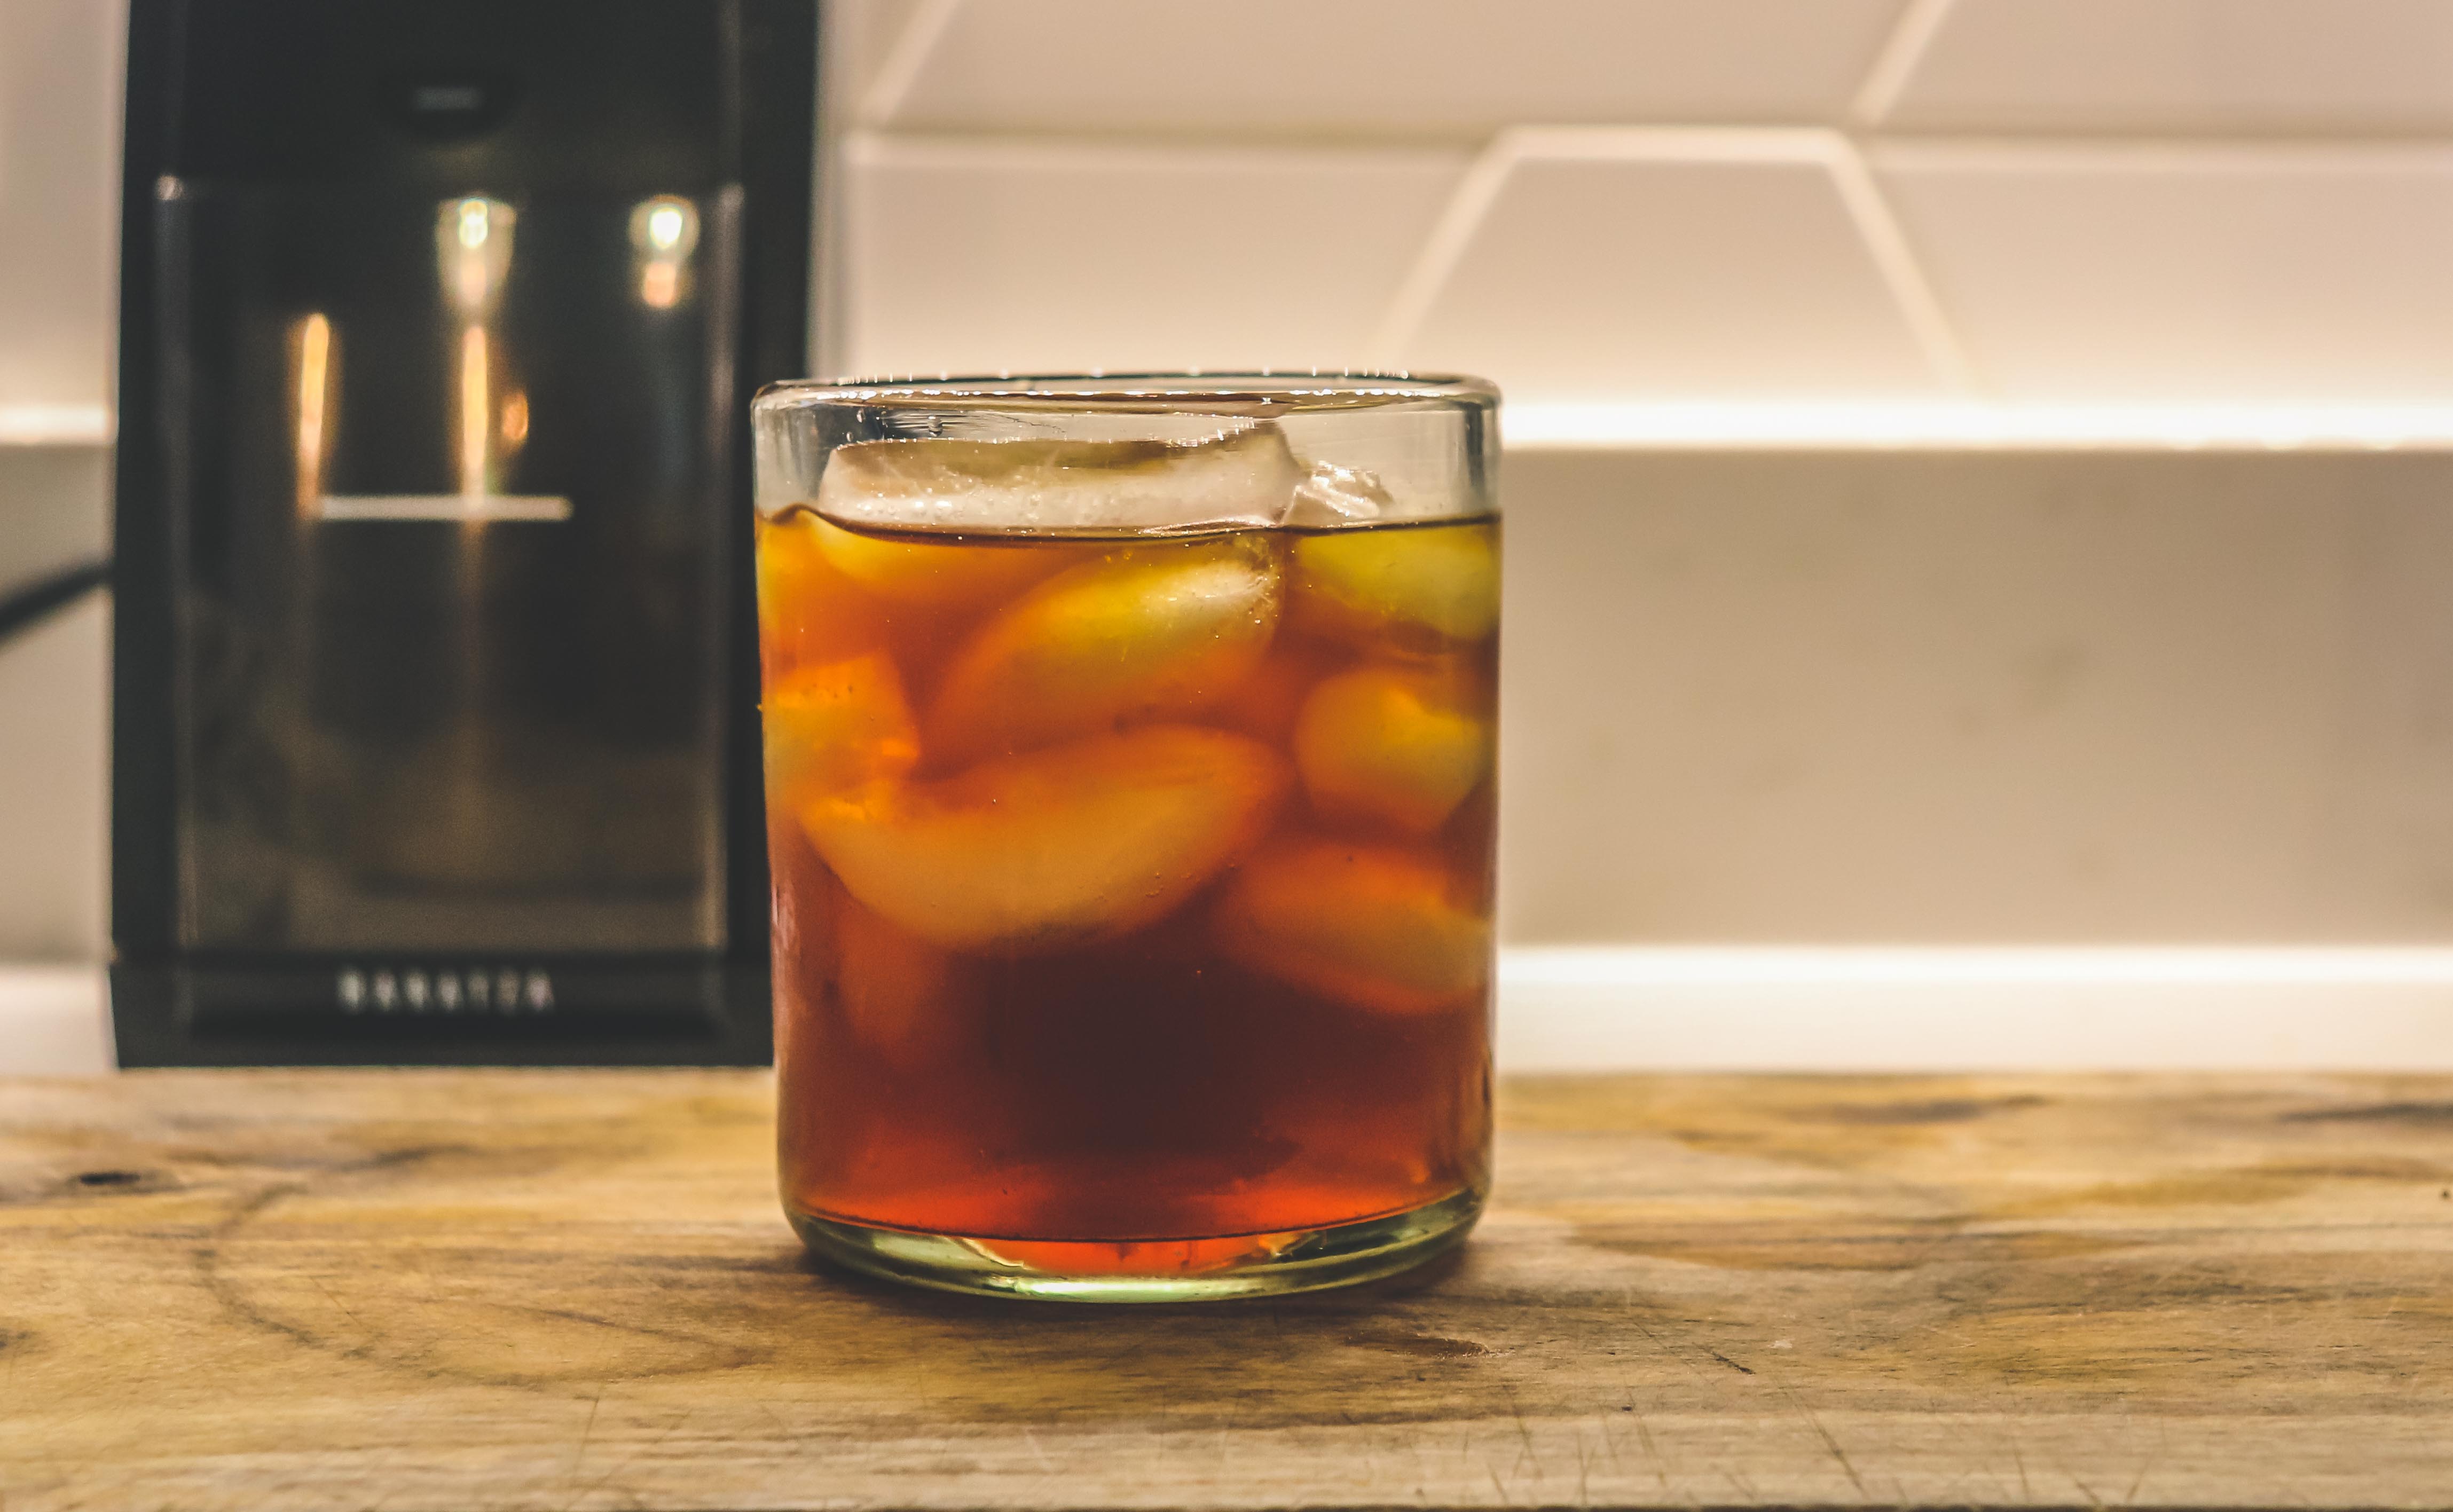
The final step is to dilute the coffee concentrate. Add 1 part water for every 1 part of coffee concentrate (a 1:1 ratio). Given the measurements of 32 ounces of coffee concentrate, add 32 ounces of water to dilute the concentrate. In the end you should have about 64 ounces of ready-to-drink cold brew. I dump it all into a single container, but you can divide it into multiple jars or whatever works for you.
If you want a stronger coffee, skip this dilute step and add water or milk to each individual cup you pour. That's what I've been doing and I'm starting to prefer this method. There are times when I've done the 1:1 ratio of coffee to water that the brew ends up to be too watery for my liking. YMWV.
Conclusion
You don’t need to mix the 32 ounces of water to the final concentrate. Add water or milk to taste. Sometimes just having the ice melt in the glass is enough water for some people. YMMV depending on how strong you like your cold brew.
I like to experiment with different brew times and different coffees. I've found that African beans make the best cold brews. Those beans as cold brew are good at bringing out the flavors of the roasts. So, play around with timing, concentrate and different roasts.
Cheers!